Add a custom emulated device in Chrome
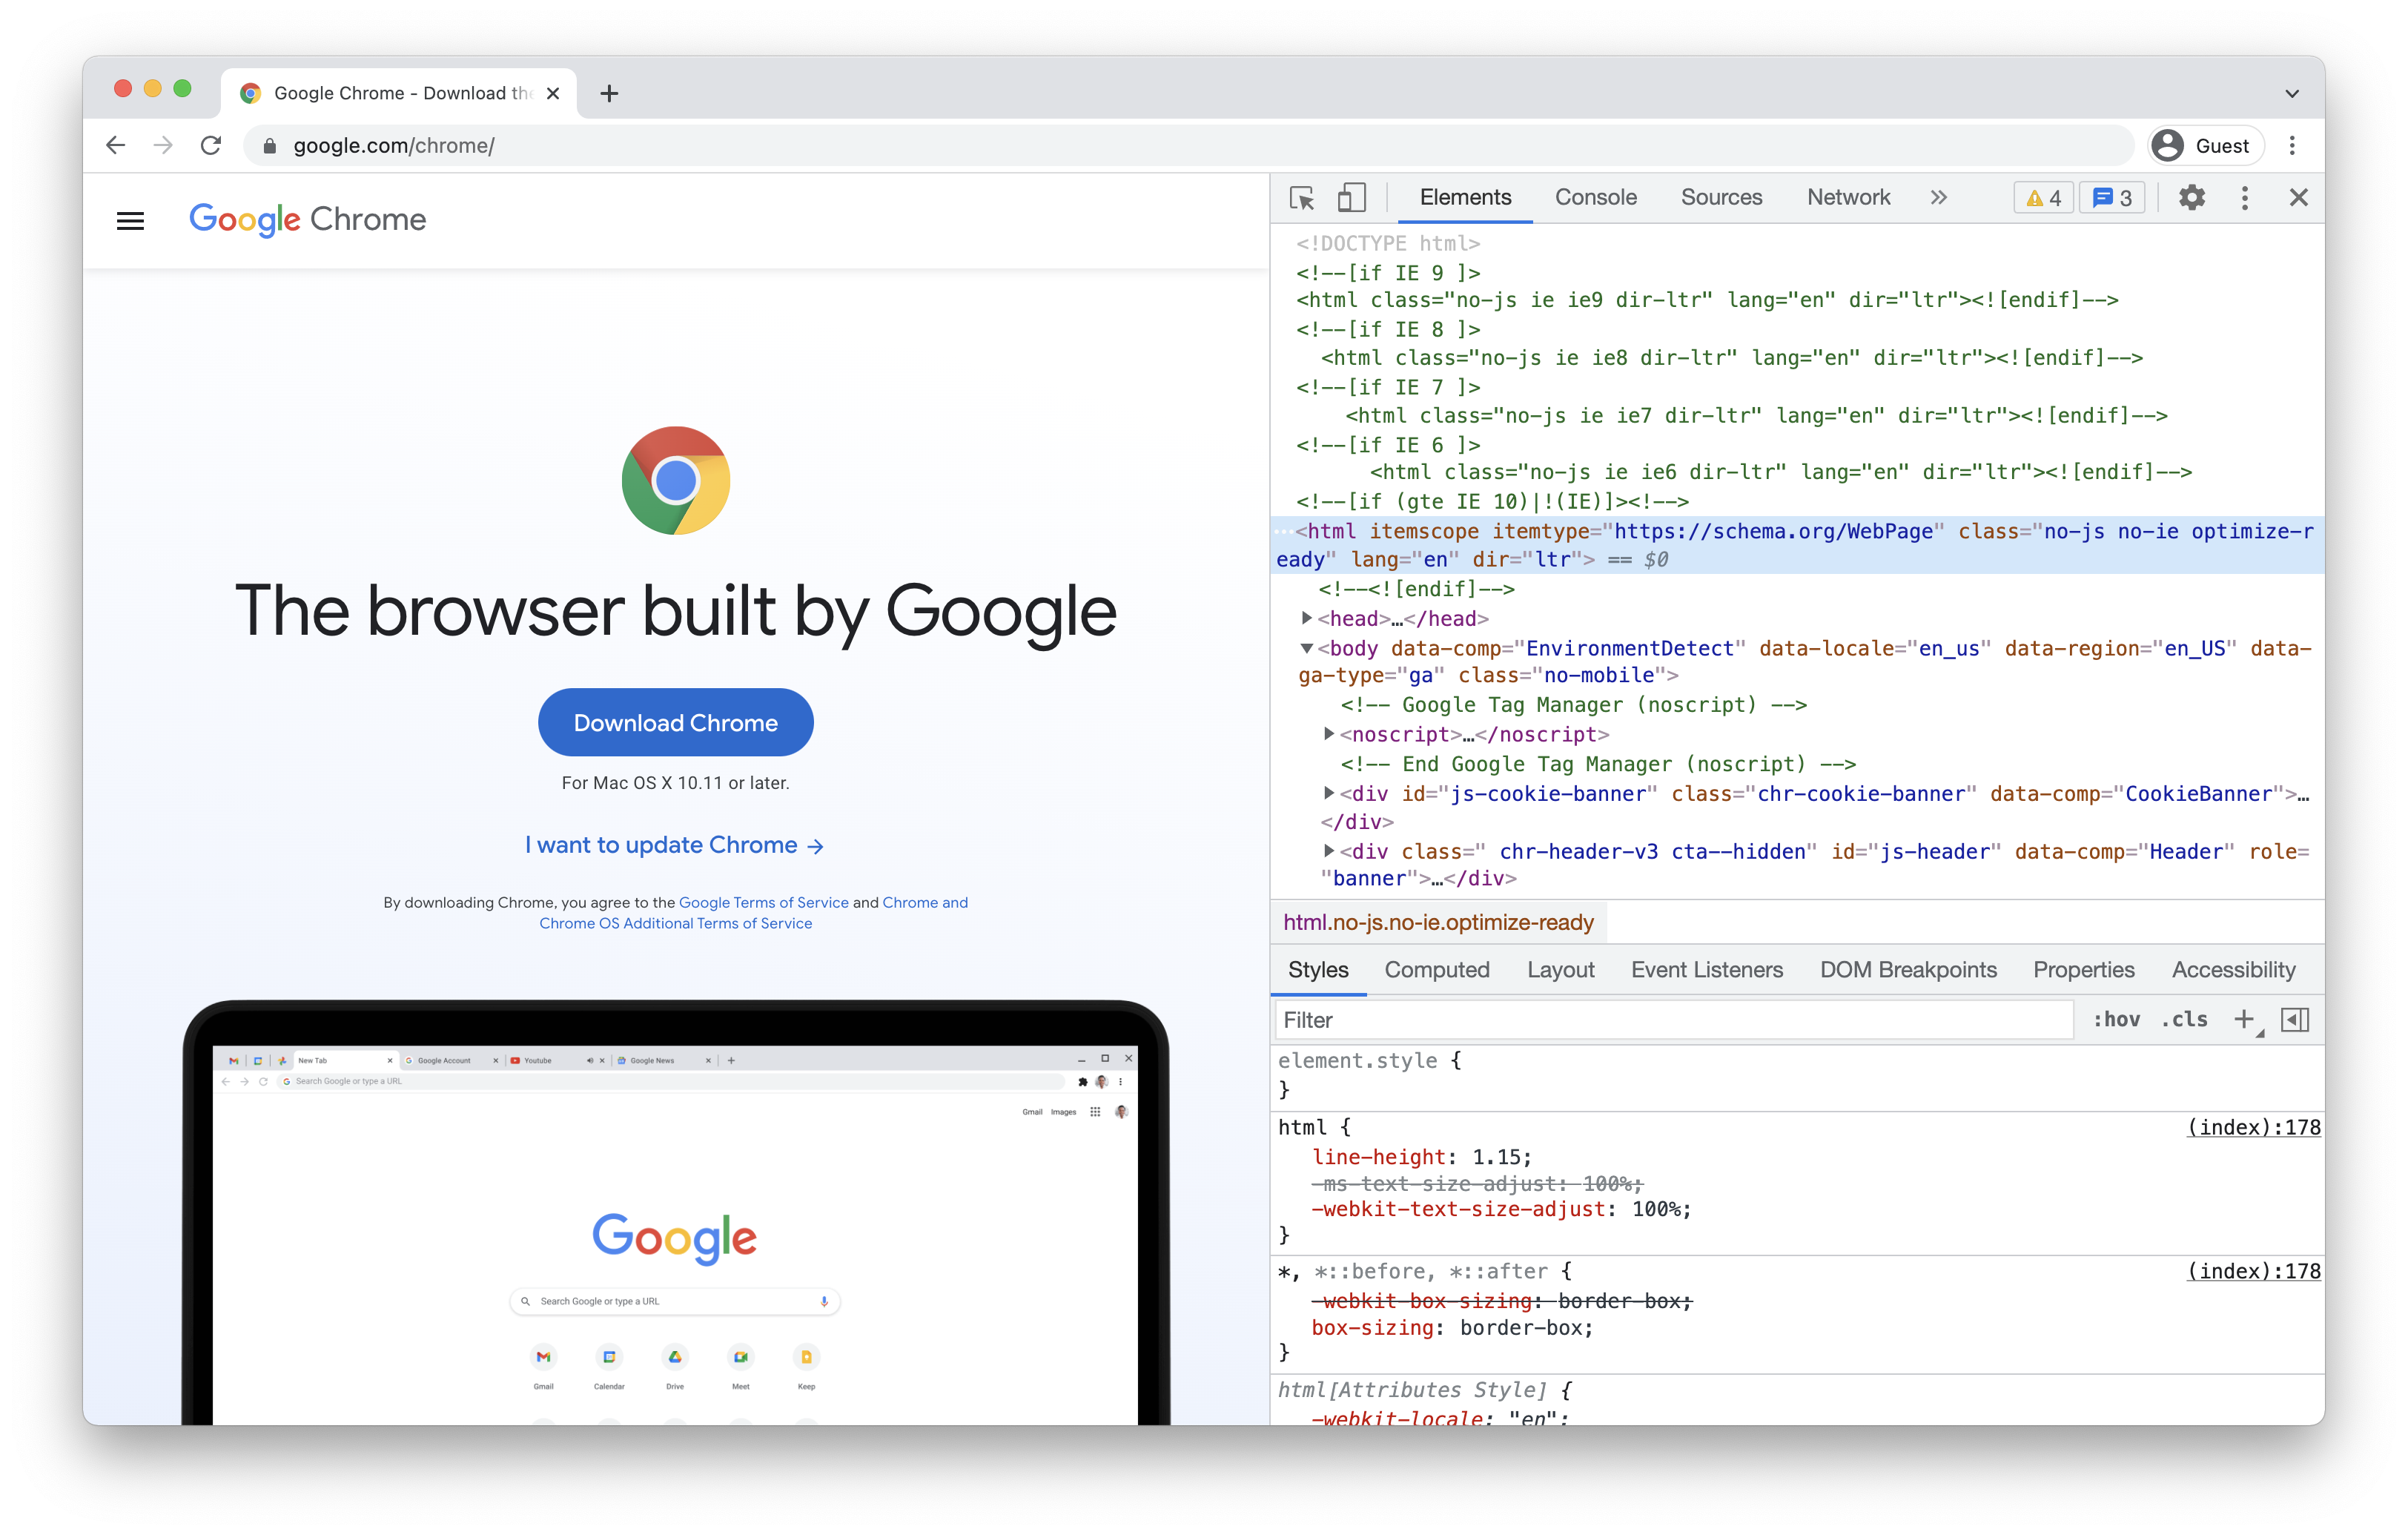
Google Chrome provides a feature in the dev tools to emulate a device within the desktop browser. This is really helpful to get a quick preview of what a webpage will look like on different types and sizes of devices.
You can also add a custom emulated device that meets the specifications of your users. For example, if you work on a product that is primarily used by school students on Chromebooks, then it would be useful to have an emulated device that you could easily select.
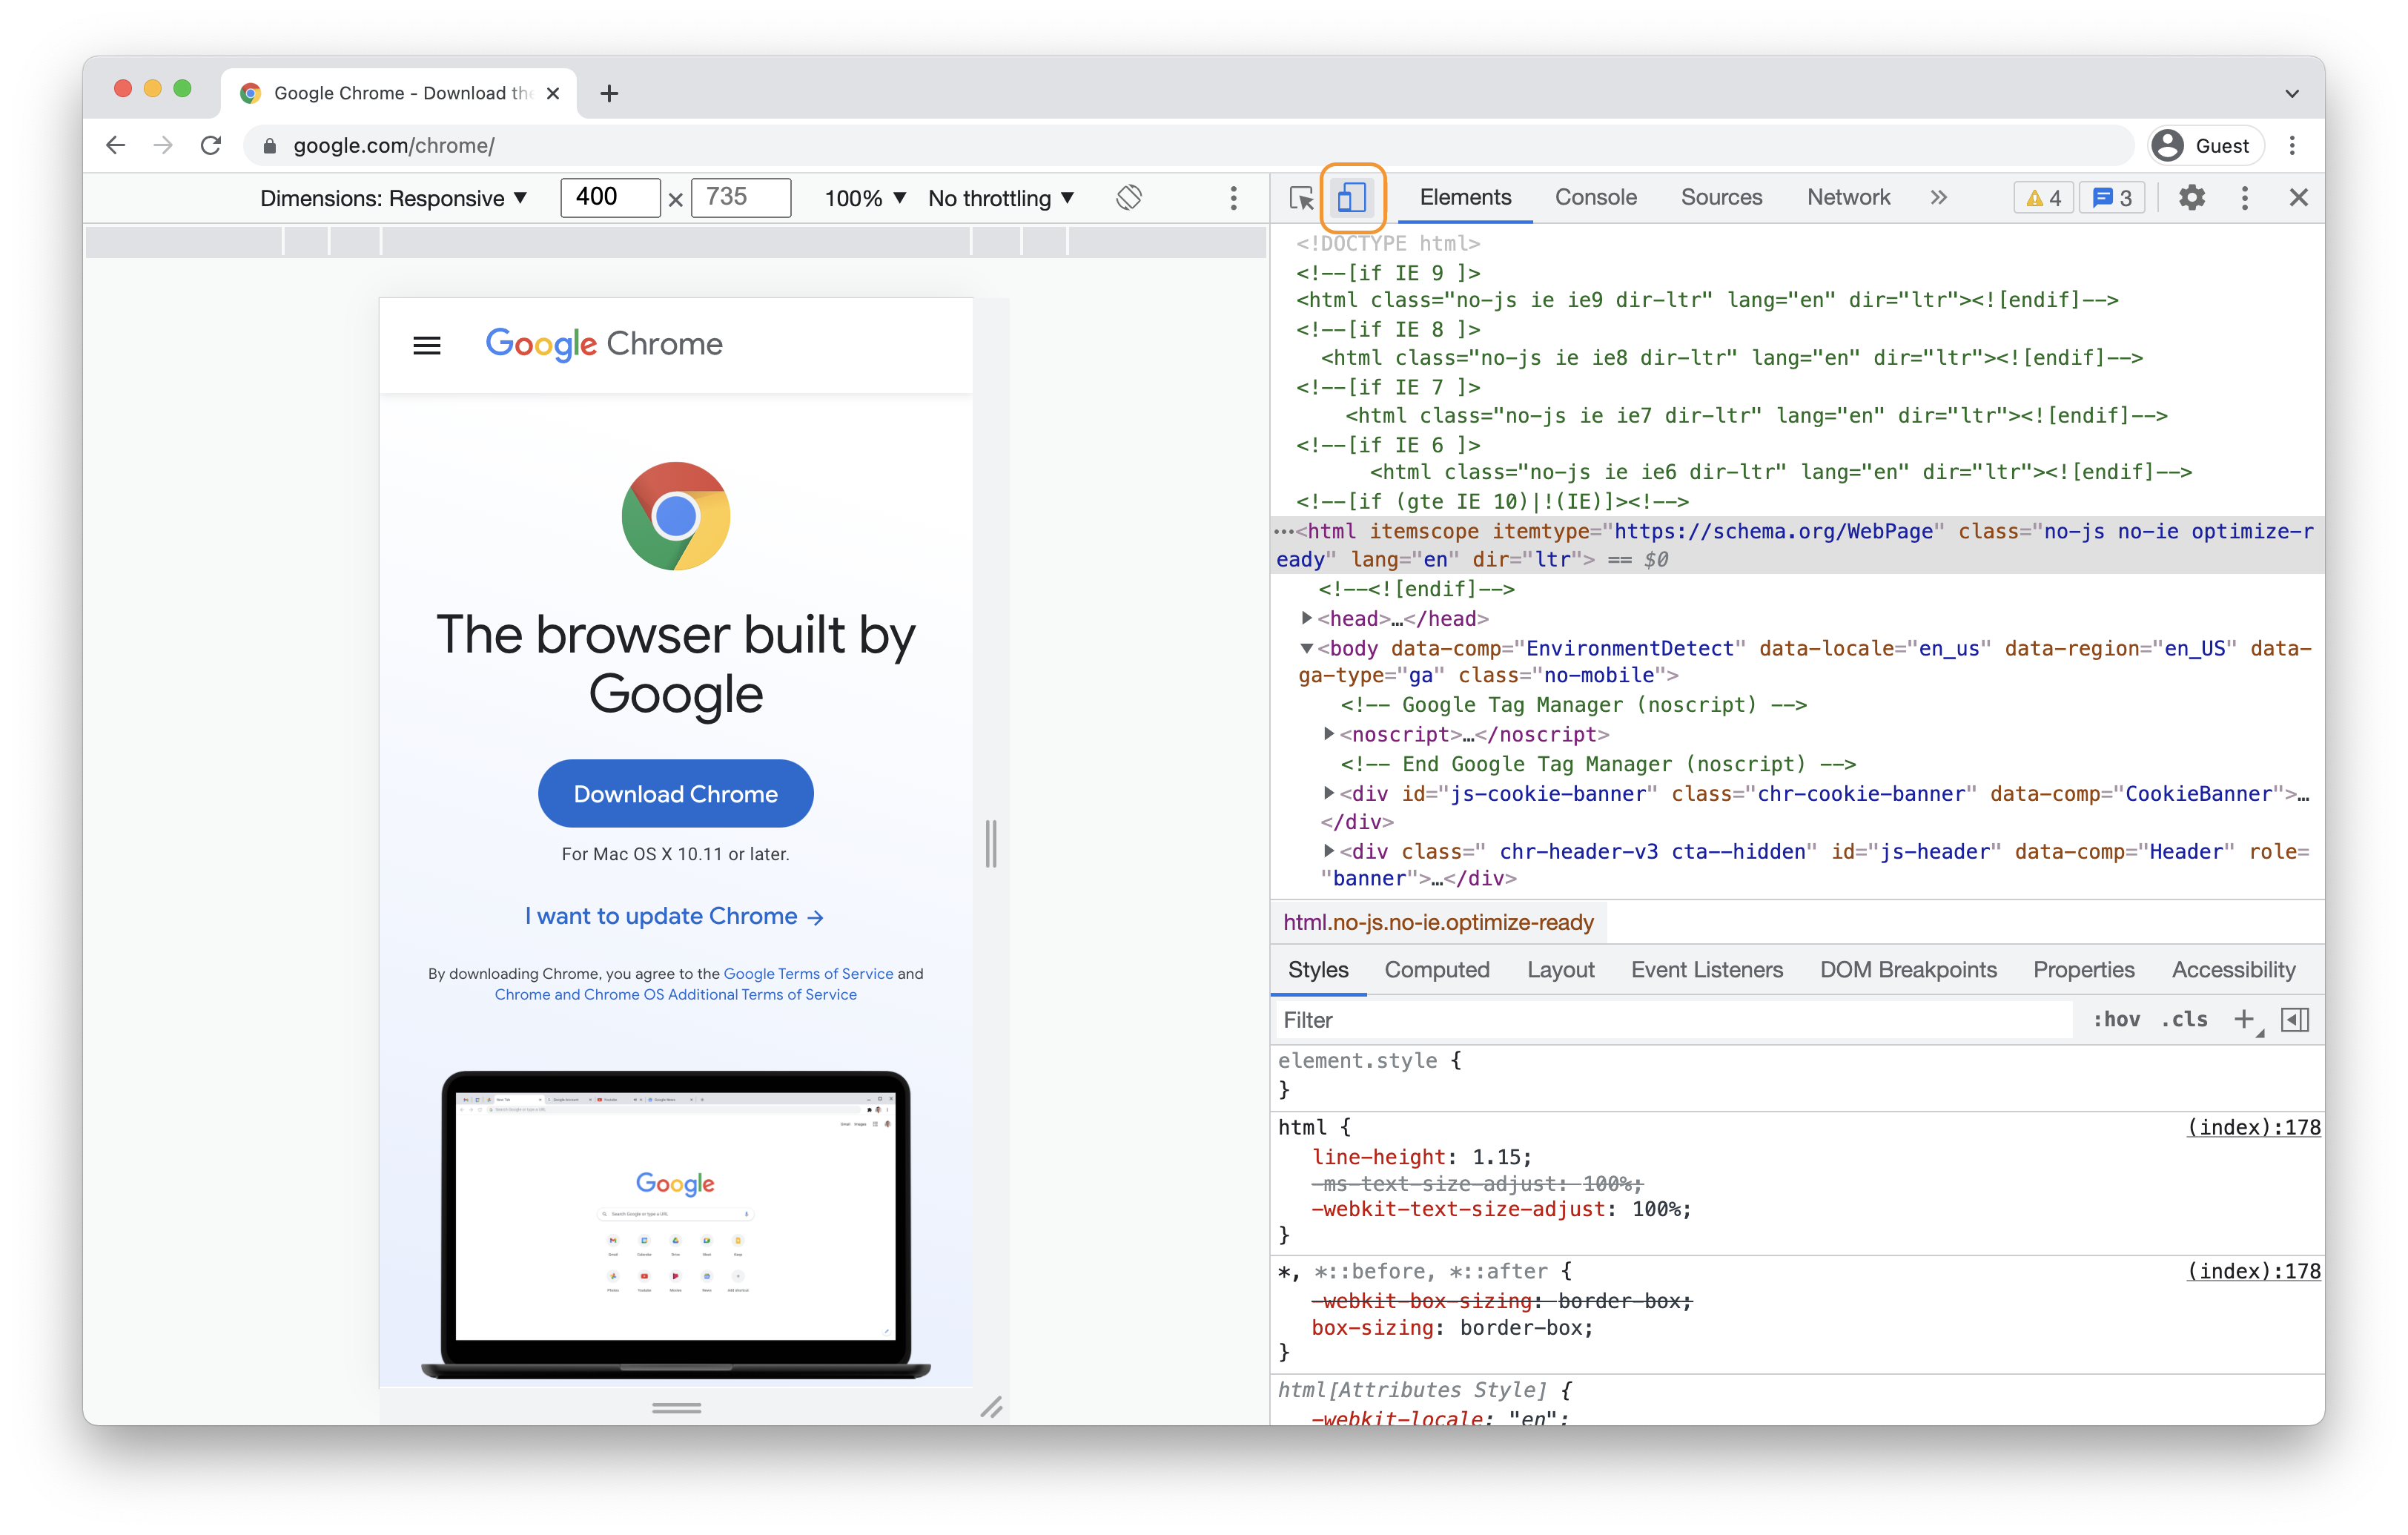
To add a custom emulated device in Chrome, first open the dev tools with your favorite method.
Then select toggle the device toolbar by clicking the phone/tablet icon or using the shortcut ctrl/cmd + shift + m.
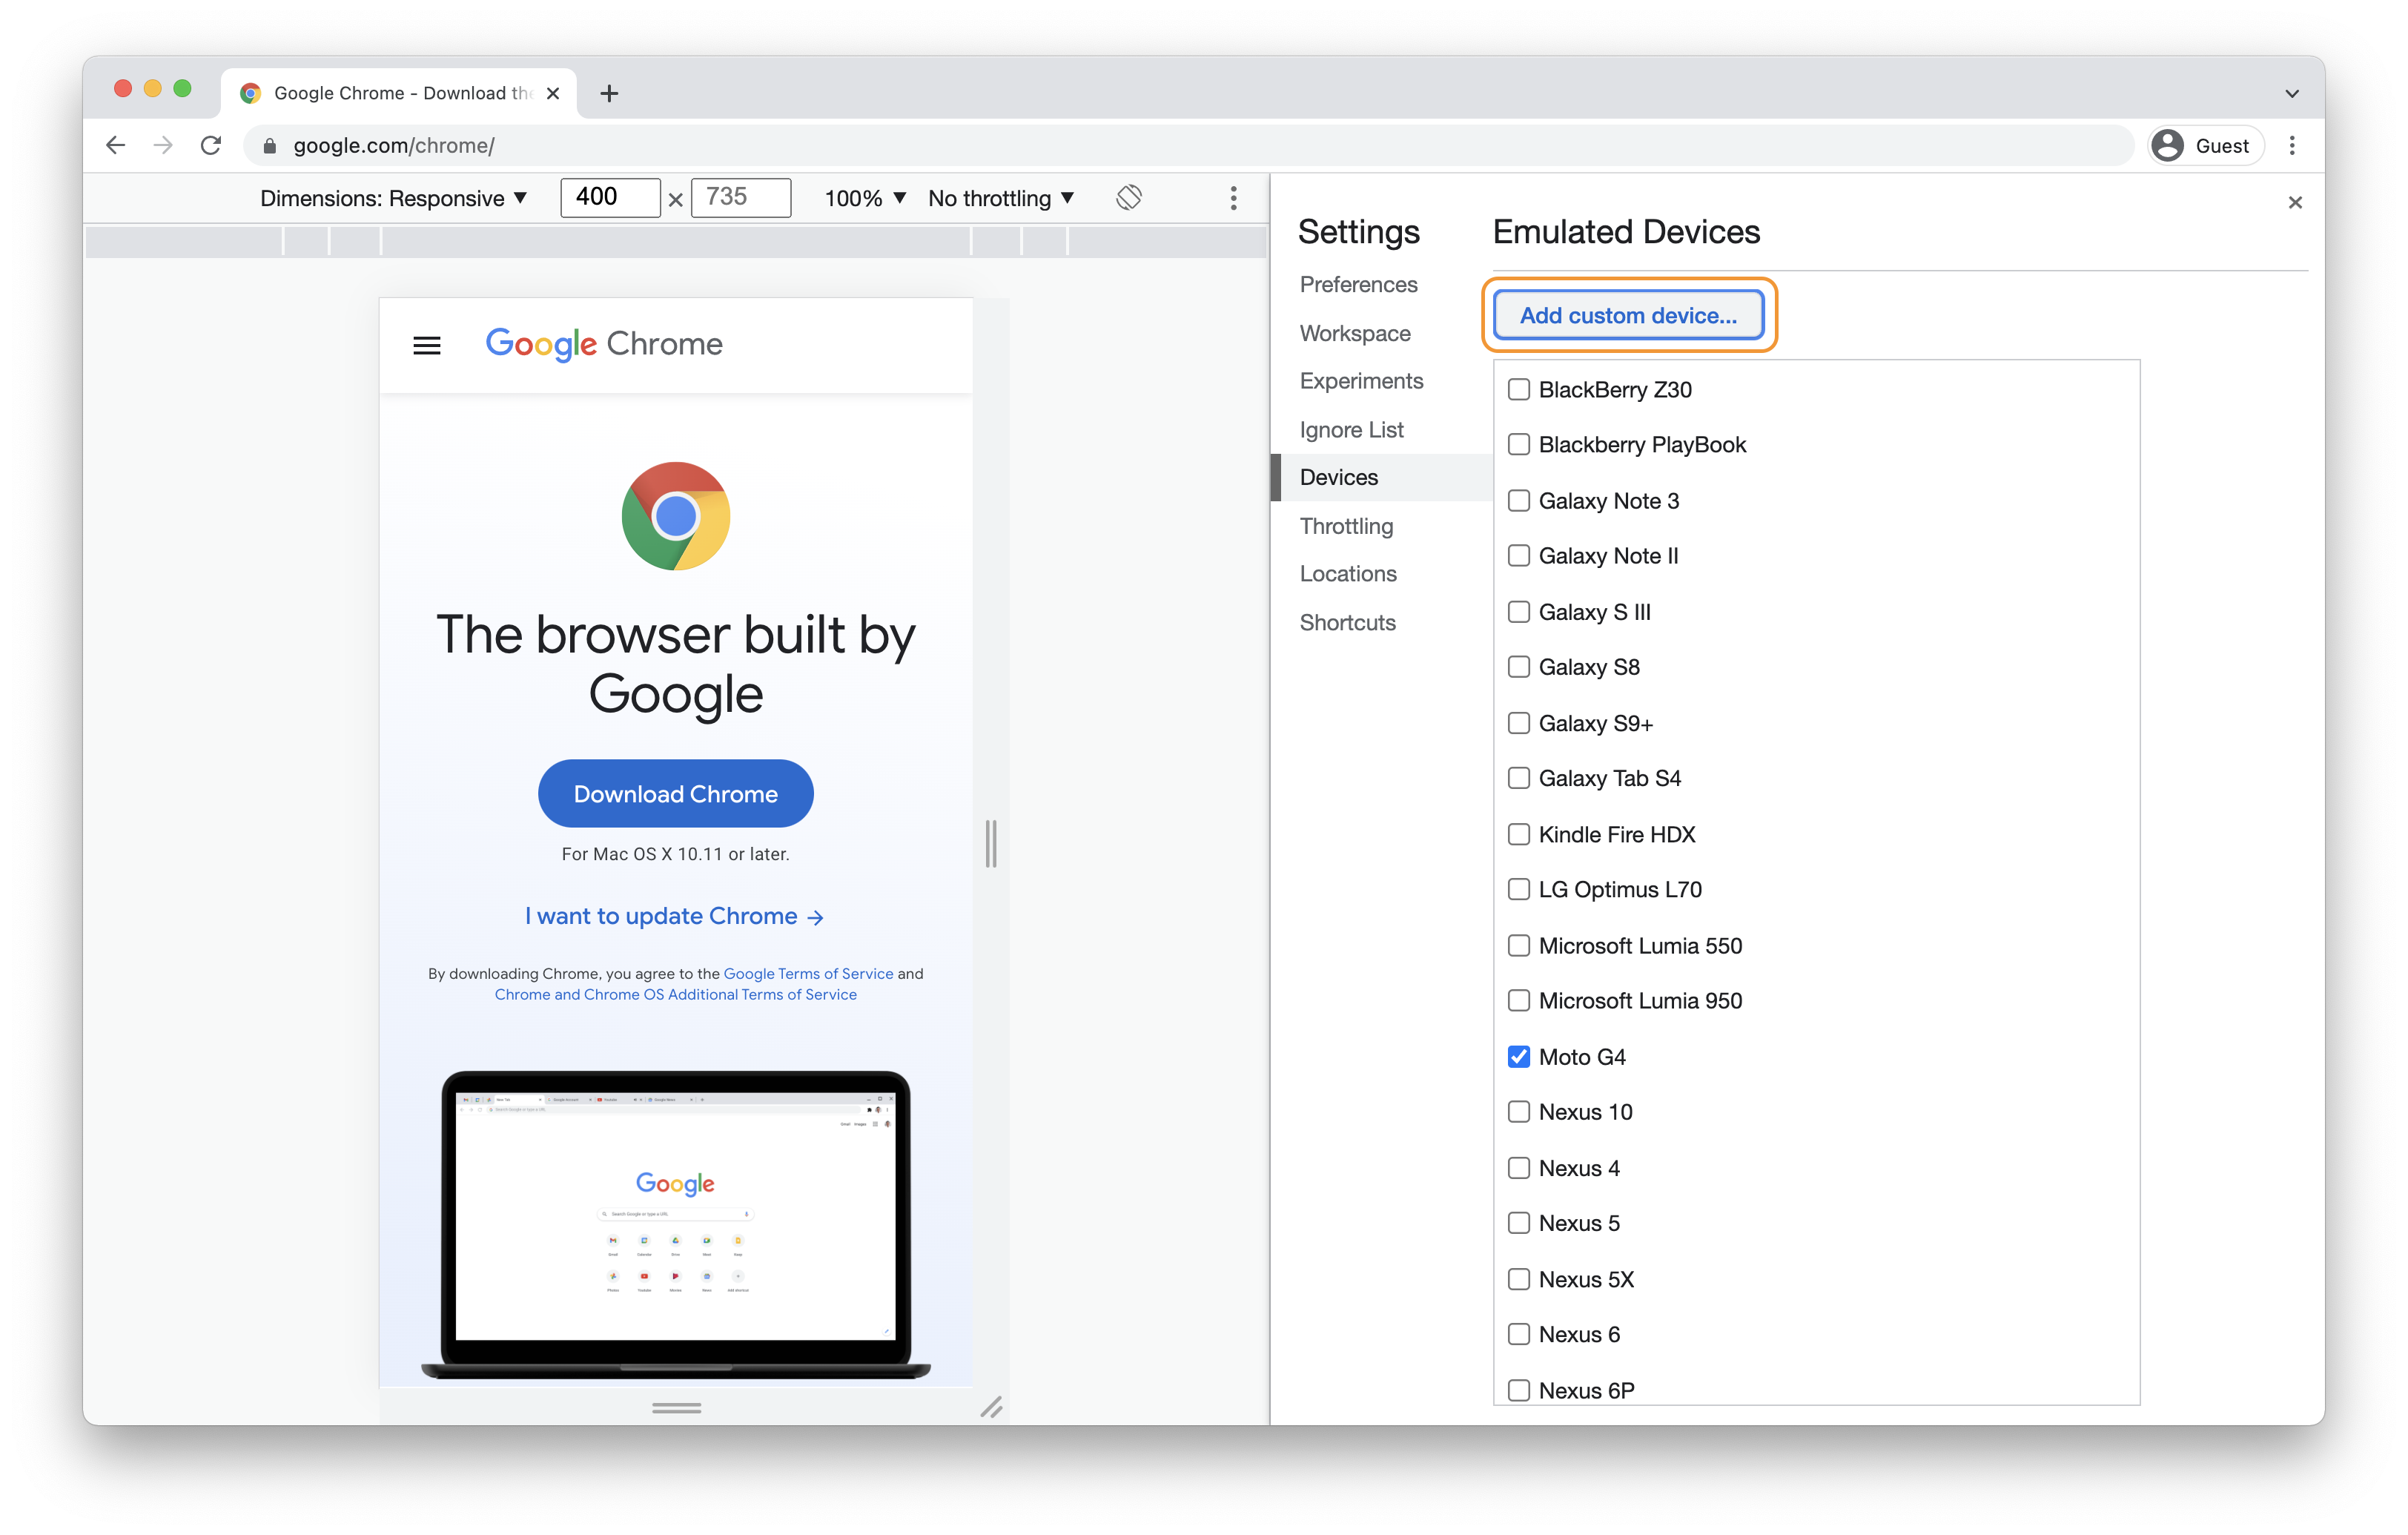
Open the dropdown to see all of the default devices available in Chrome. To add a new one, select "Edit" at the bottom of the list.

This should review a new dev-tools panel. Here you can select from a greater list of default devices. To add a new device, select "Add custom device...".
Next, input the dimensions for your custom device. I have two Chromebooks with two different window dimensions: 1366x649 and 1300x605. I'd rather test again the more extreme device, but you do whatever makes sense for you.
Make sure to select the correct user agent type! For a Chromebook, I'm going with "Desktop (touch)".
When you are done, select "Add".

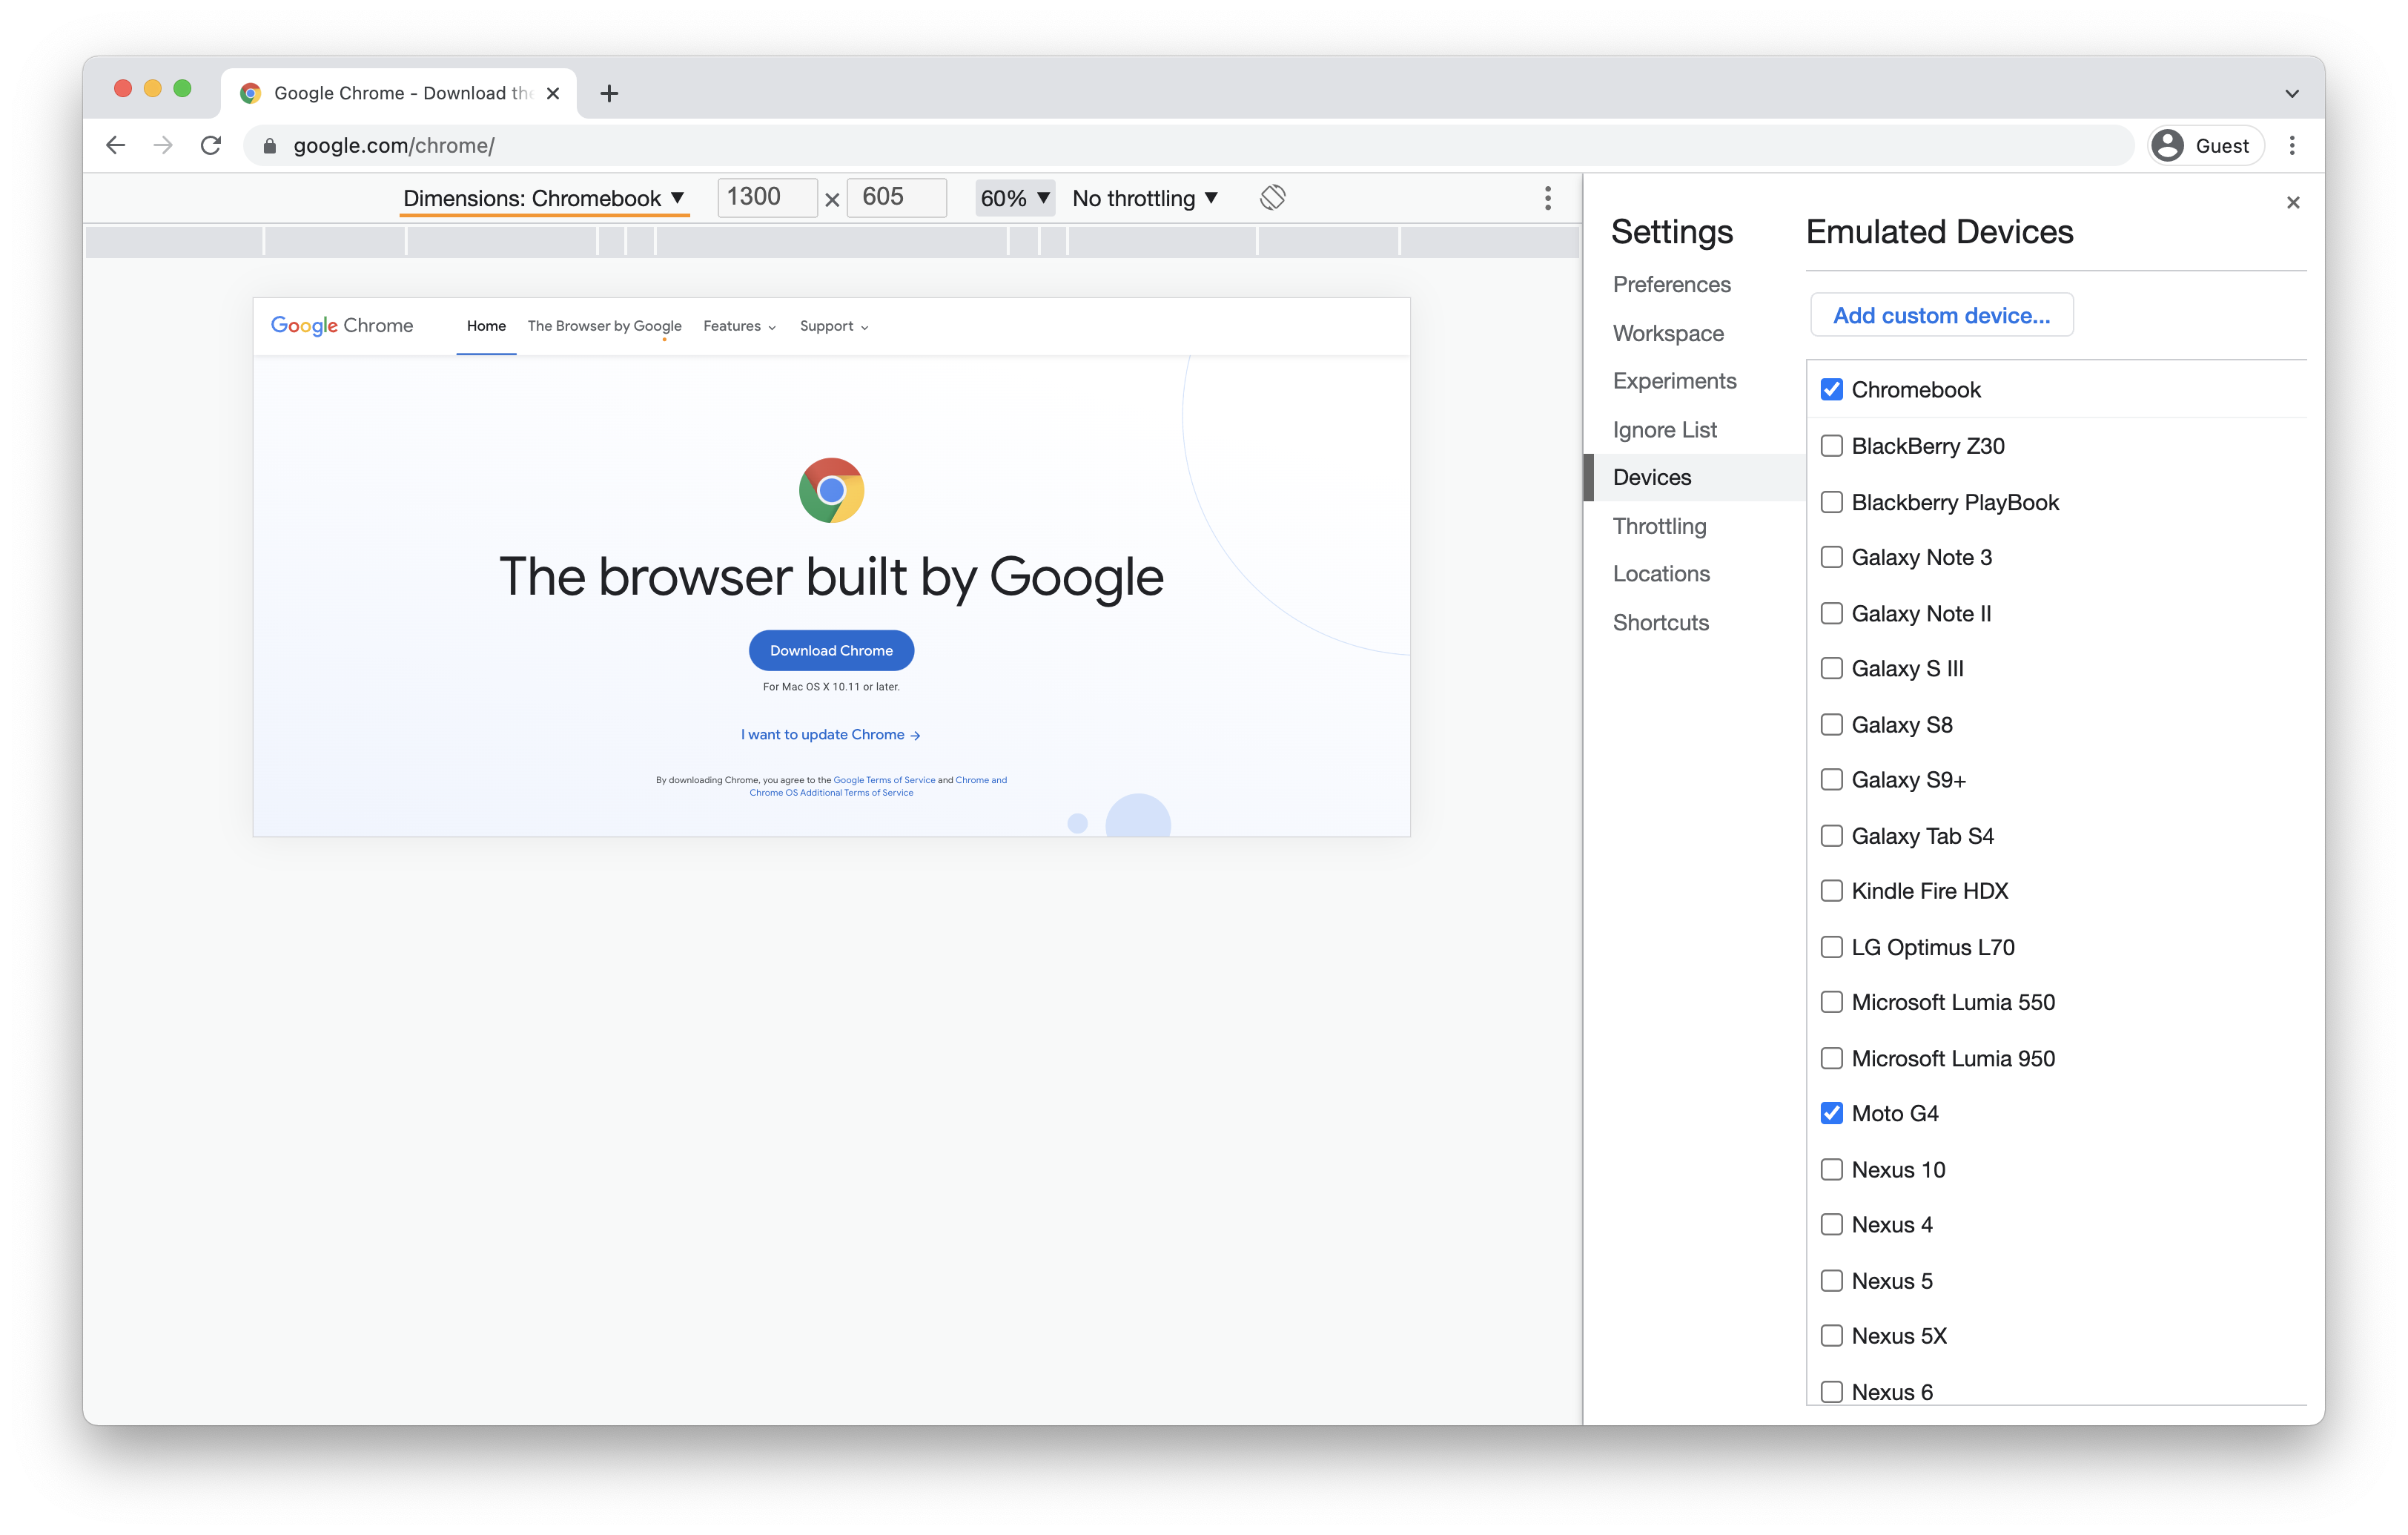
With your custom emulated device added, you can now selected it from the responsive device dropdown menu back on the far left.
The screenshot below illustrates just how different the real estate is for a Chromebook user compared to someone on a full-sized laptop or desktop:
With custom emulated devices, we can test to make sure that our webpages and applications will work well for all of our users.
Happy customizing!

Sean McPherson works as a software engineer at Khan Academy, and enjoys playing games and watching soccer. He lives with family in Pittsburgh, PA.